Install the Barcode Fonts on Ubuntu Linux
1. Download "linuxbarcodefonts.zip" to your Linux Home folder.
2. Launch the "Terminal" application and enter the following command in your Home folder to unzip the "linuxbarcodefonts.zip" file.
unzip linuxbarcodefonts.zip
If "unzip" is not available on your system, you can enter the following command to install it.
apt-get install zip unzip
The unzipped package will be placed in the "linuxbarcodefonts" folder of your Home folder. It contains all the True Type Fonts (ttf), Open Type Fonts (otf), PostScript Fonts (pfa, pfb), Web Open Format Fonts (woff/woff2), console-based Barcode Font Encoder "barcodecmd", bulk barcodes generating scripts and a "Resource" folder. The "Resource" folder contains the source files and resources required to embed ConnectCode's barcode fonts engine into different tools and frameworks such as Microsoft Reporting Services, React, Angular, WebAssembly, .NET, .NET Core, Java, JavaScript, TypeScript, Oracle, Android and Azure.
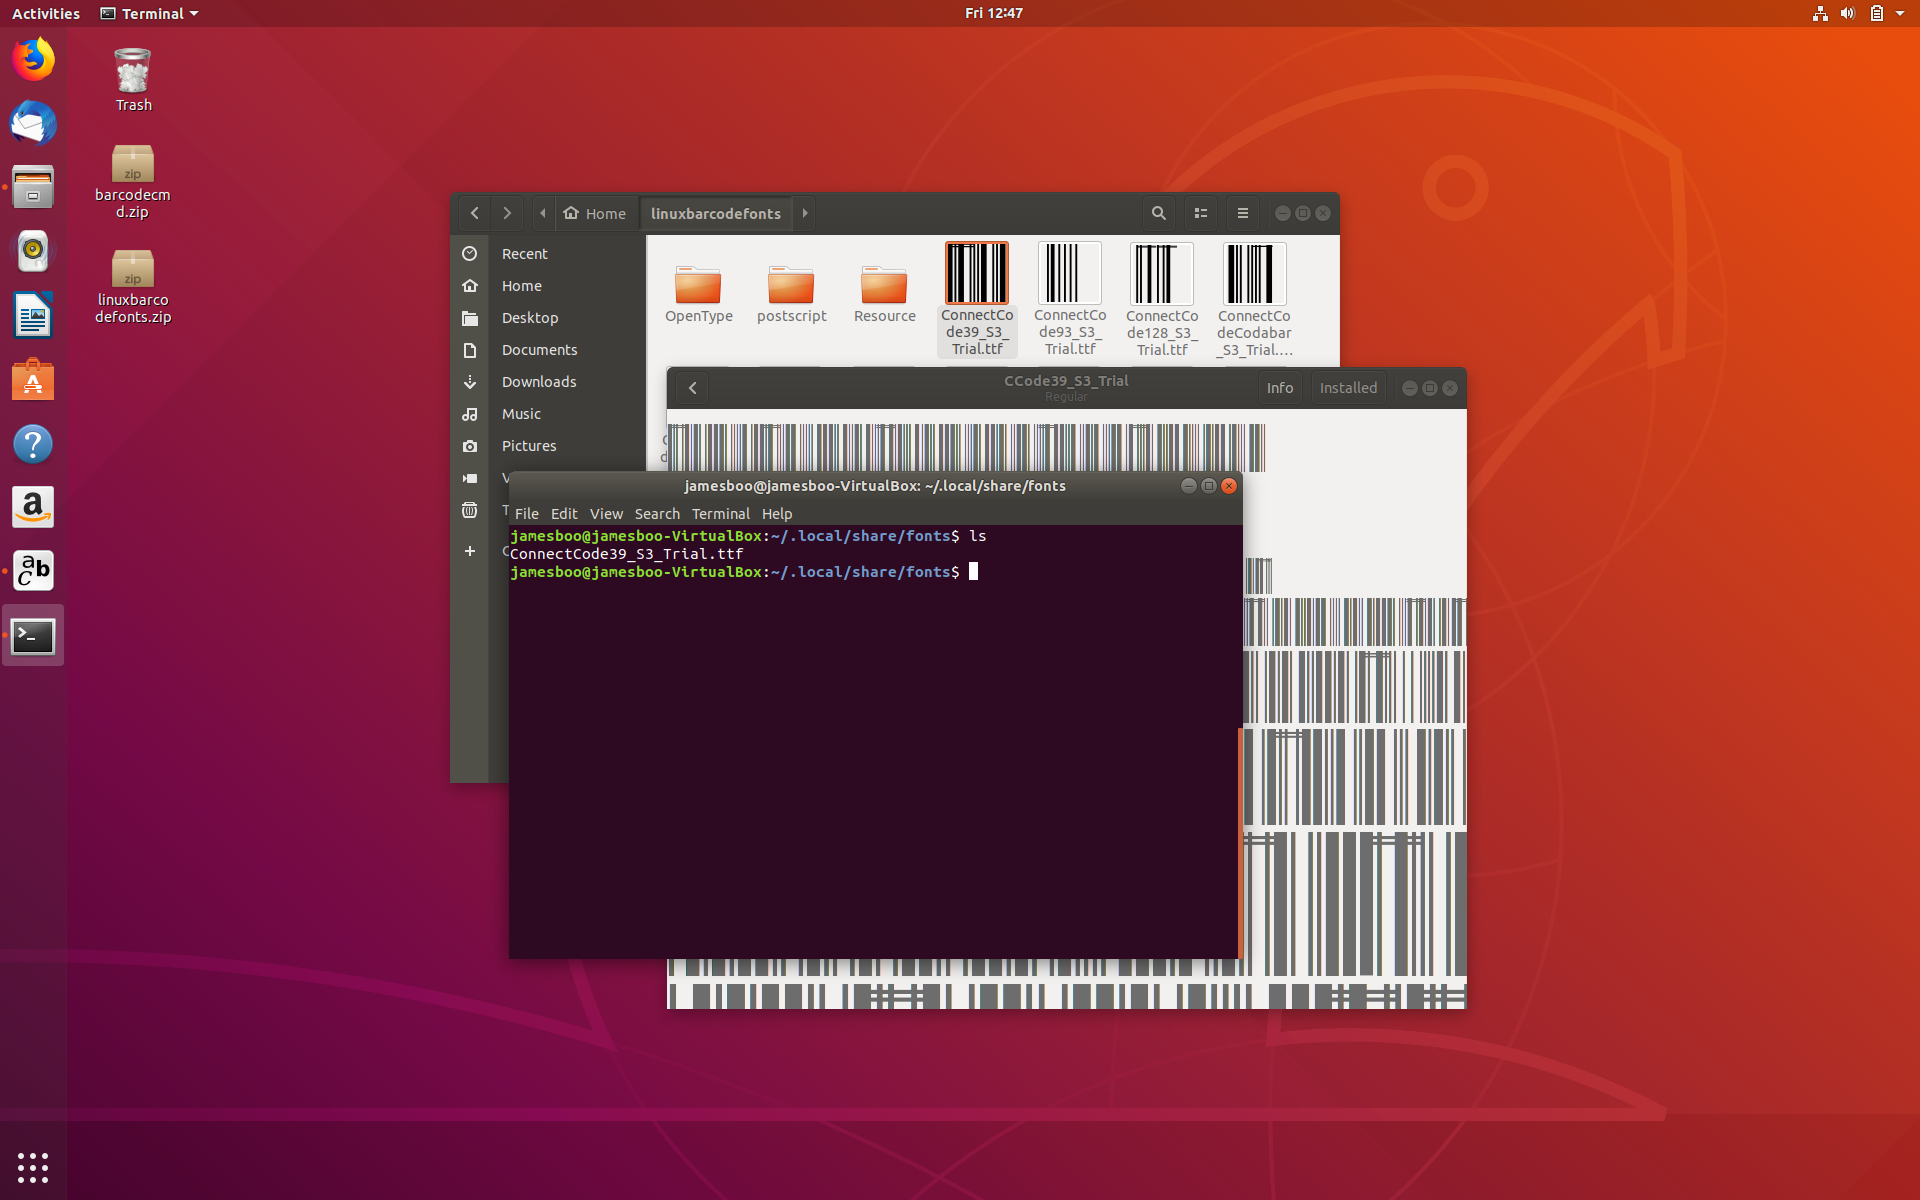
3. Click on the "File Manager" icon on the Desktop and navigate to the "$HOME/linuxbarcodefonts" folder. Double click on the "ConnectCode39_S3_Trial.ttf" file. "Ubuntu Font Manager" will be launched to display a preview of the font. Click on the "Install" button on the top right hand corner to install the font.

You can proceed to click on other fonts (.ttf) in the folder to install them individually. The registered package contains a full suite of fonts to ensure adherence to all requirements required by the auto-id industry. Alternatively, it is possible to bulk install all the fonts using the console. To do this, launch the "Terminal" application and copy all the fonts (.ttf) into the "$HOME/.local/share/fonts" folder. The command to enter is shown below:
cp $HOME/linuxbarcodefonts/*.ttf $HOME/.local/share/fonts
Once the fonts are copied, they will be available system-wide to all Linux desktop applications.
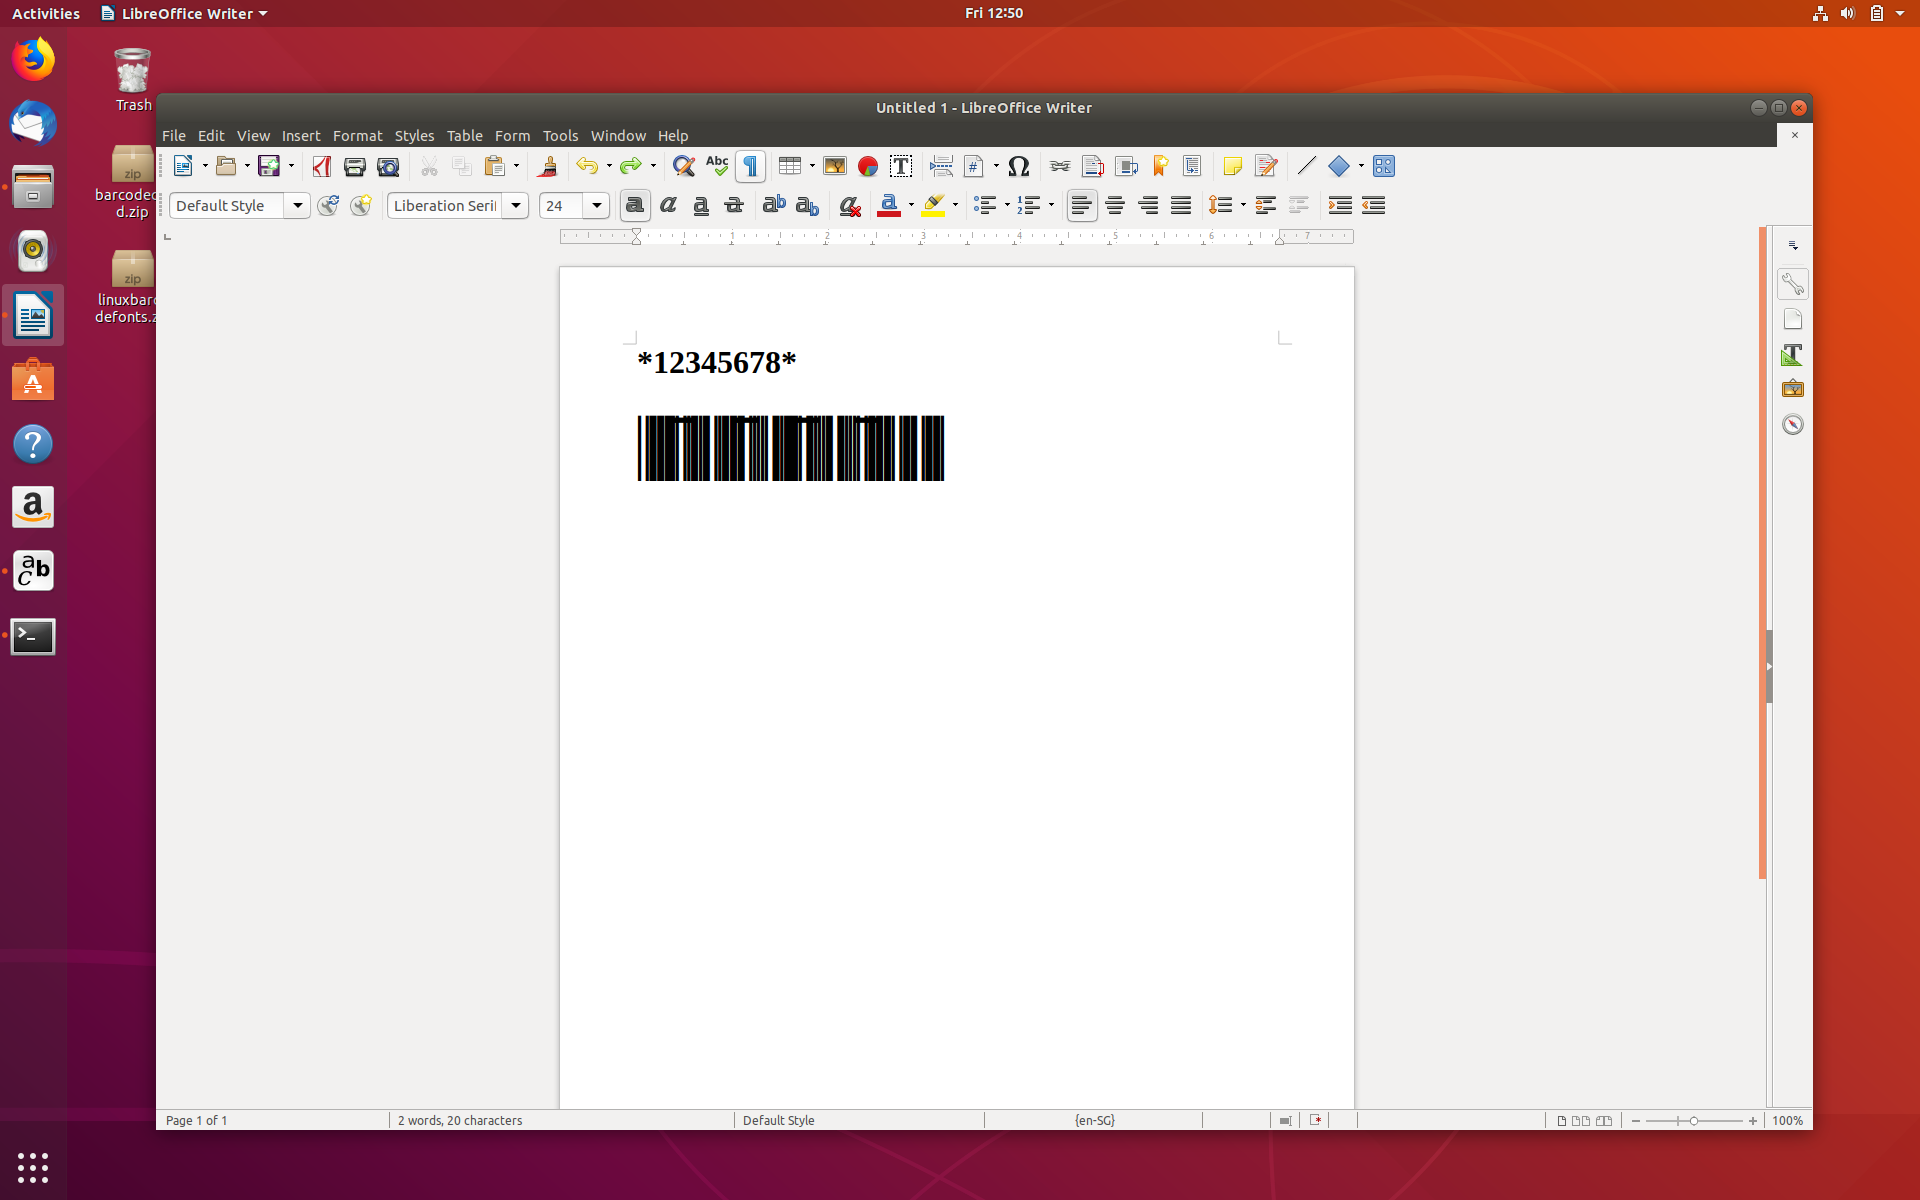
4. Next, we are going to test the barcode fonts in a Linux desktop application. Launch "LibreOffice Writer" from the Ubuntu desktop. Enter "*12345678*", select the characters and change the Font to "CCode39_S3_Trial" (the font name is a short form of the file name "ConnectCode39_S3_Trial"). Make sure that you do not select the final hidden character (added by "LibreOffice Writer" for indicating end of line). Finally, set the Font Size to "24". You should see the barcode as illustrated below:
Other barcodes such as Code128, UPCA, EAN13, I2of5, ITF14, EAN8, UPCE, Industrial2of5, Modified Plessy, Code93, EXT2/5, GS1 Databar14, and UCCEAN (GS1 128) require a more complex check character to be added. This can be easily generated using the Linux Console Barcode Font Encoder.