Using the Linux Console Font Encoder to generate barcodes
1. Launch "Terminal" and enter the following command to go to the folder where the Font Encoder is located.cd linuxbarcodefonts/Resource/commandline
2. Enter the following command to generate a Code128A barcode. The first parameter specifies the type of barcode and the second parameter specifies the input data.
./barcodecmd Code128A "12345678"
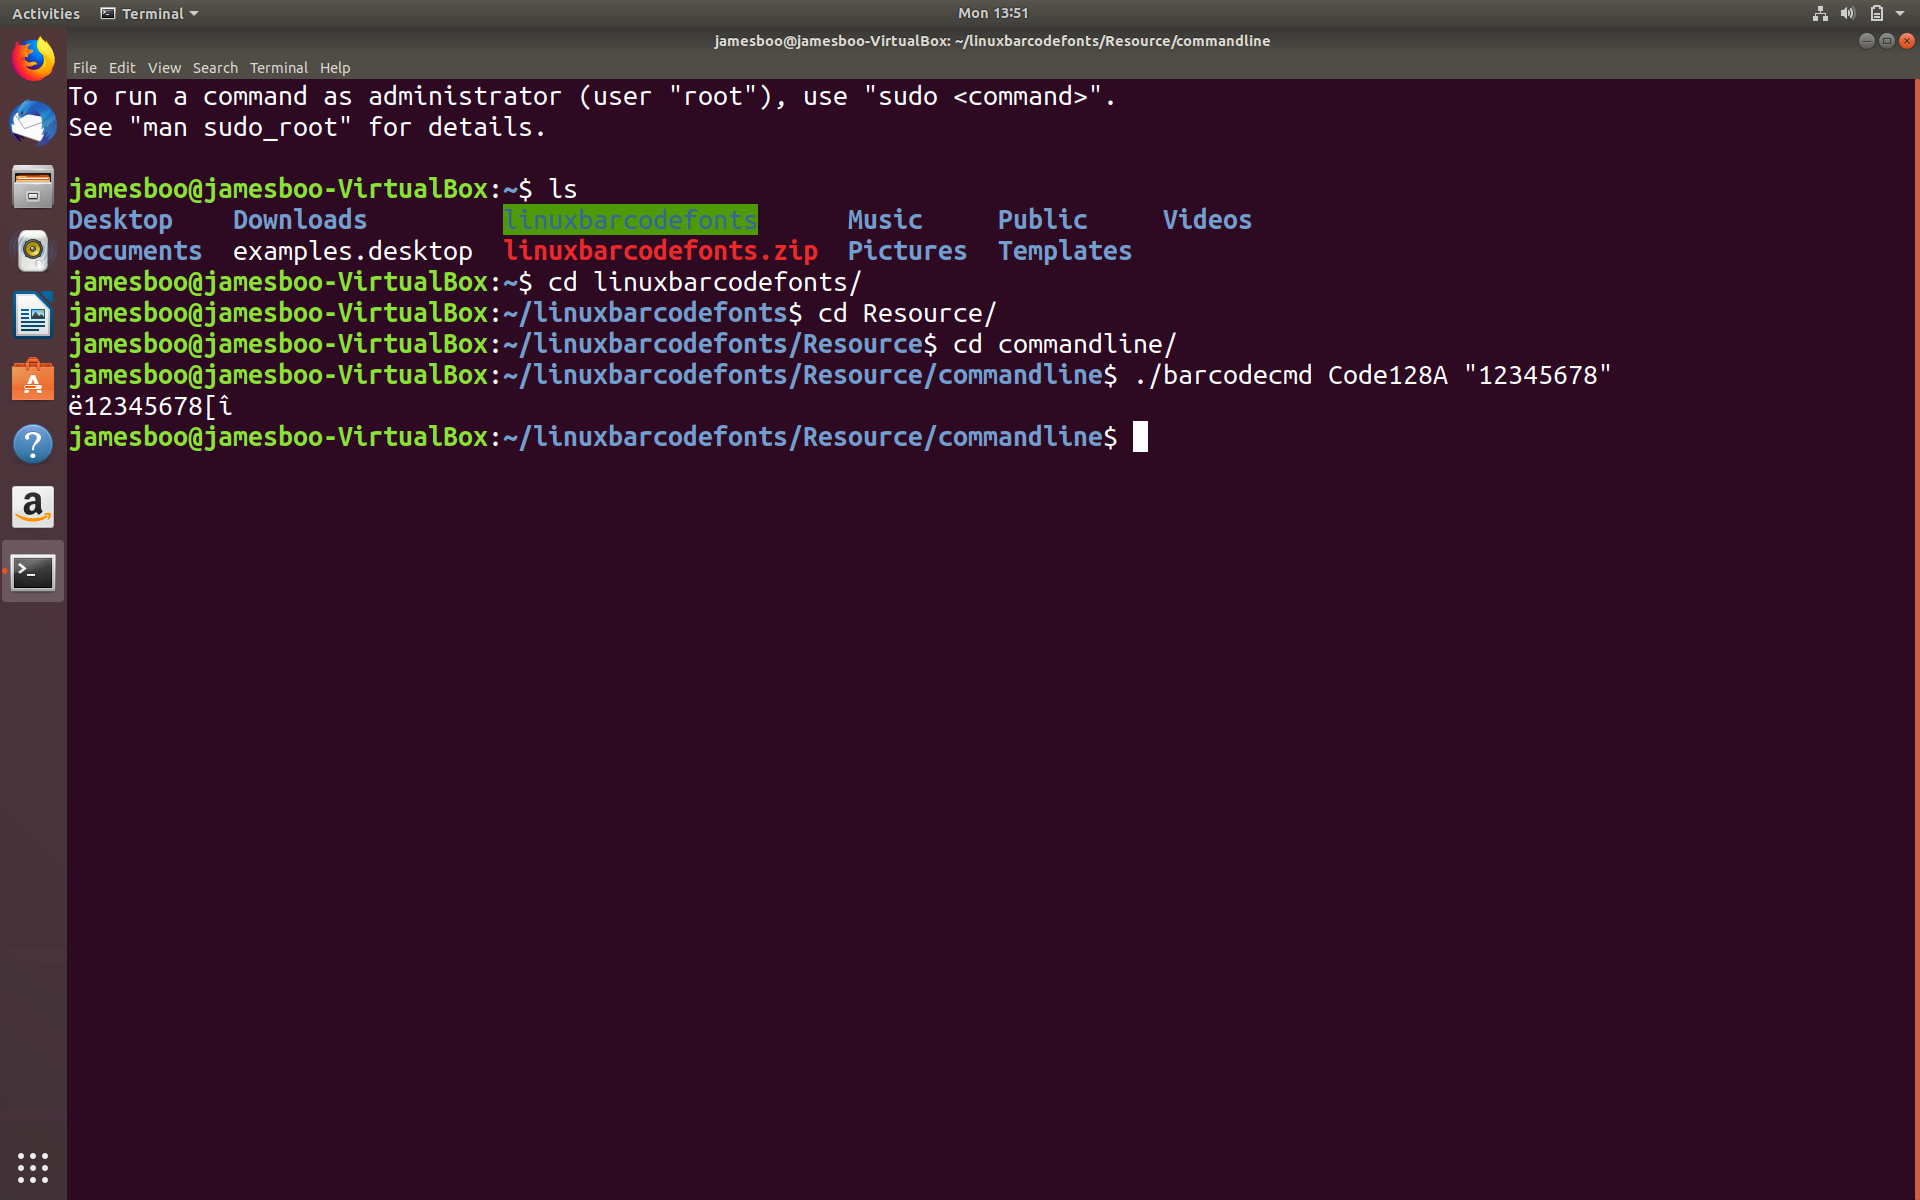
Some barcodes such as Code39 allow the check character to be turned on/off. This is supported by a third parameter "1" to enable the check character and "0" to disable it. More information is available at the end of this section.
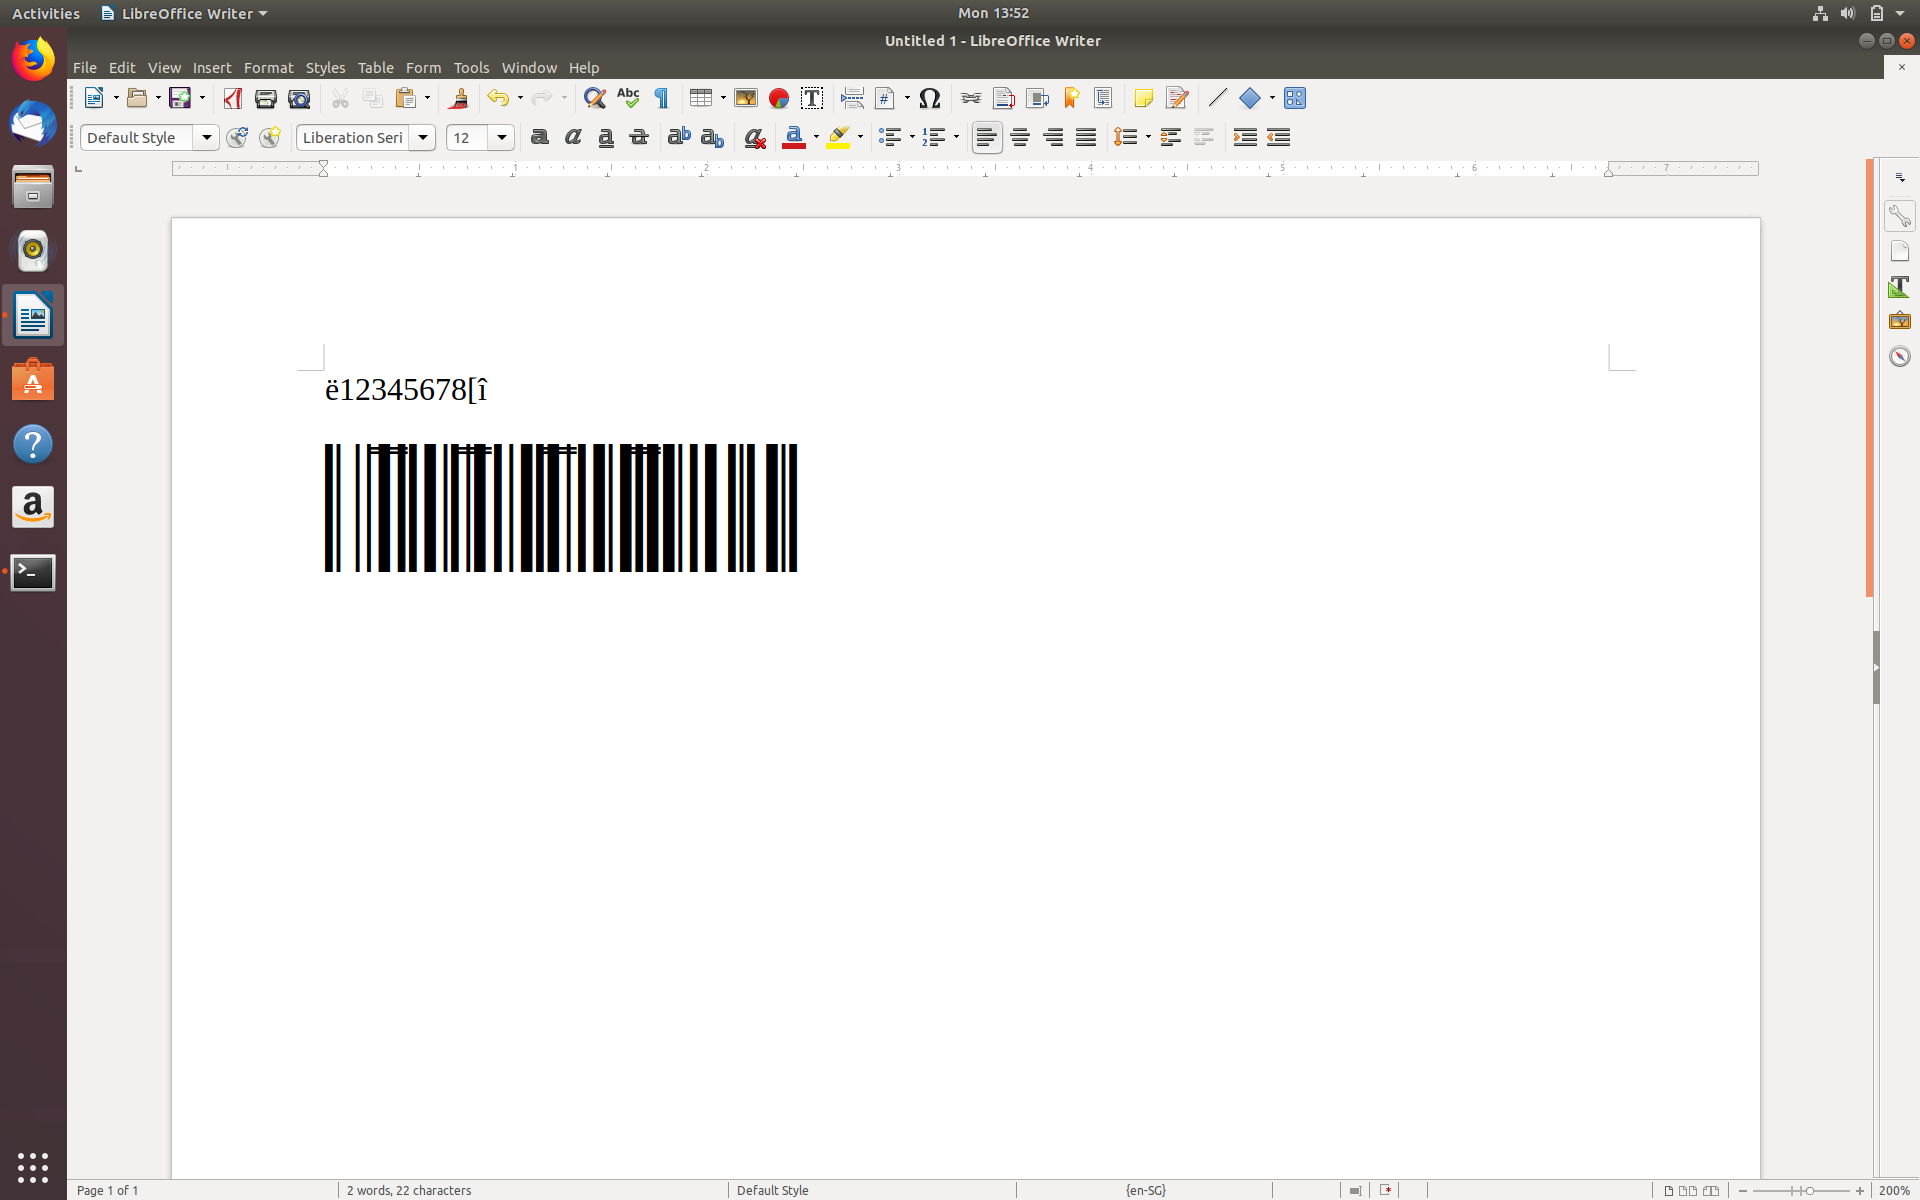
3. Select the output using your mouse and copy it to Ubuntu clipboard by using the Ctrl-Shift-C key (or right click on your mouse and select "Copy" from the menu).
4. Launch "LibreOffice Writer" and paste (Ctrl-Shift-V or right click on the mouse and select "Paste") the output characters on a document.
5. Set the Font to ConnectCode128_S3_Trial and Font Size to "24". You have successfully created a Code128 Subset A barcode using fonts.
To get help on generating the different types of barcodes, you can enter the following in "Terminal" (or other Linux Console).
./barcodecmd
Some barcodes such as Code39ASCII allow you to indicate whether to generate the optional check character. For example, the following command generates a Code39ASCII barcode with the check character.
./barcodecmd Code39ASCII "12345678" 1
The "1" at the end of the command indicates to generate a check character. Use a "0" to turn off the check character. In the above, "LibreOffice Writer" is used to display the barcodes. It is also possible to use the barcode fonts in other Linux applications such as Gimp, Inkscape or Mozilla Firefox.