Xamarin.Forms Barcodes using Fonts
Xamarin.Forms is an open source multi-platform framework that enables you to build native apps for Windows, macOS, iOS and Android, in C#. It is a popular development framework as it leverages on the .NET platform and enables developers to share a single code base. Business benefits from using Xamarin.Forms with lowered costs of development and consolidated skillsets across project teams.This tutorial illustrates how you can use fonts to create high quality, industry compliant, and pixel perfect barcodes in Xamarin.Forms.
Prerequisites
- Visual Studio 2019
- Mobile development with .NET component for Visual Studio
- ConnectCode Barcode Fonts
How to create a simple Code 39 barcode by adding a font to your Xamarin.Forms application?
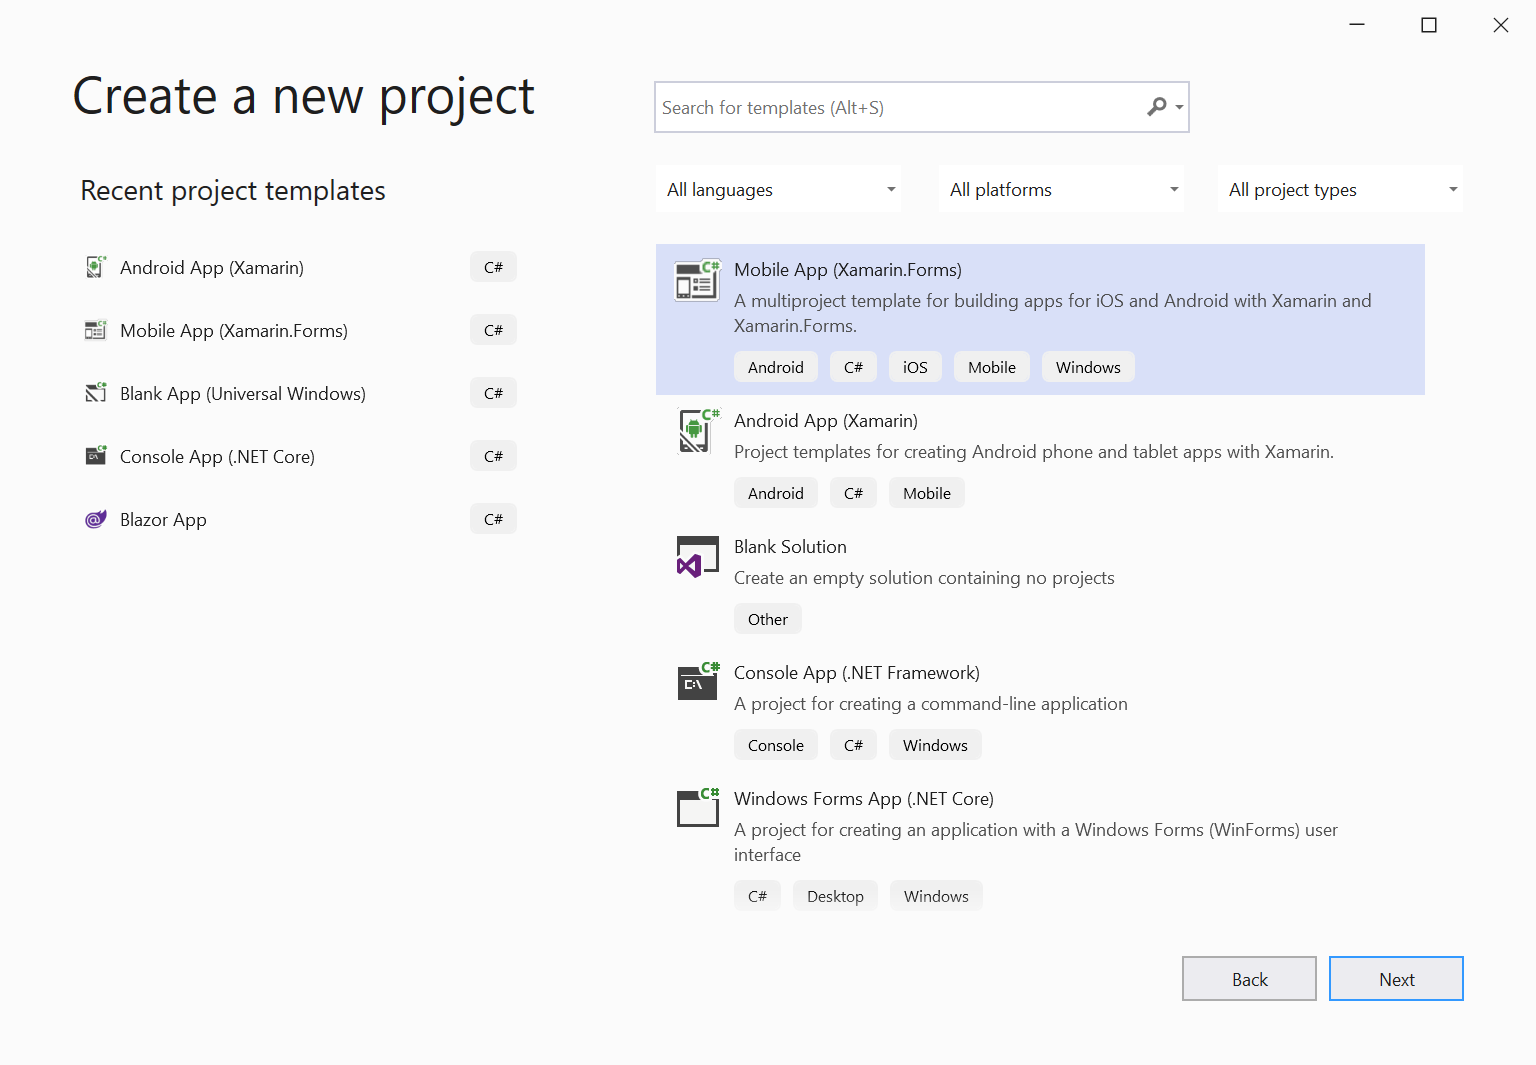
1. Launch Visual Studio and Create a new project. Select the "Mobile App (Xamarin.Forms)" template and click on the "Next" button.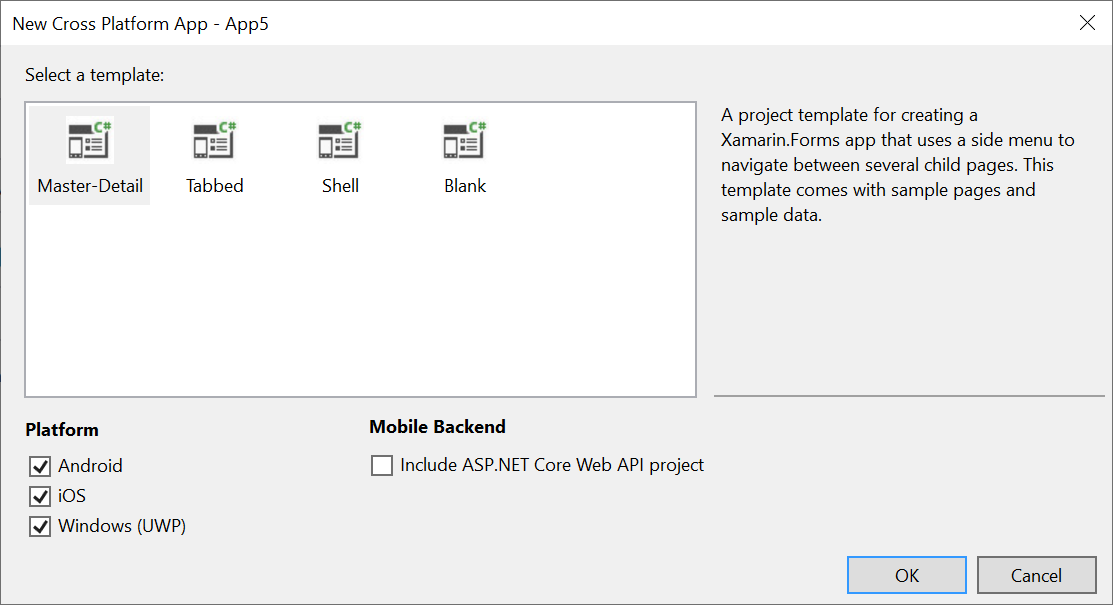
2. In "New Cross Platform App", select the "Master-Detail" template. Click on the "OK" button to create the project.
3. In the "Solution Explorer", right click on the "App" project and create a "Resources" folder. In the "Resources" folder, create a "Fonts" folder. Right click on the "Fonts" folder, select "Add existing item", and browse to the ConnectCode (C:\Program Files(x86)\ConnectCode\OpenType) folder. Select "ConnectCode39_S3.otf" (Open Type Font) and click on the "OK" button. We have also added the "ConnectCode128_S3.otf" barcode font to our project for demonstration purposes.
Note - If you are using the msix style installer for Windows 11, you can export the fonts from the Barcode Fonts Encoder app -> Setup Barcode Fonts tab to a folder of your choice.
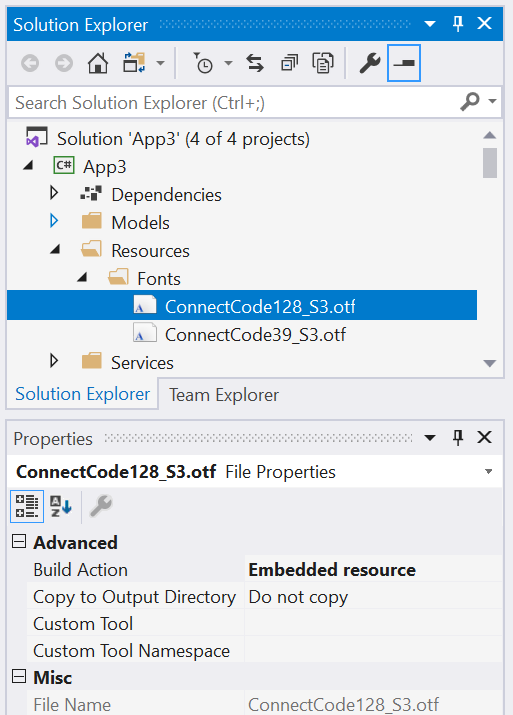
For each of the Font, make sure to set the "Properties -> Build Action" to "Embedded Resource. This will ensure that the font is embedded as part of the deployed project.
4. In "Solution Explorer", double click on "AssemblyInfo.cs". Add the following statement to export and add an alias to the Code 39 Open Type font.
using Xamarin.Forms;
[assembly: ExportFont("ConnectCode39_S3.otf", Alias = "CCode39_S3")]
5. In "Solution Explorer -> Views", double click on "ItemsPage.xaml". After the "Label" element for "Binding Description", add a "Label" for our barcode. Our barcode "Label" references the "CCode39_S3" barcode font alias. It also uses "*12345678*" as the input data with the "*" character as the start/stop character.
Some other barcodes such as Code 128, require a mandatory check digit. We will illustrate how to add the check digit and other start/stop characters automatically using a NuGet library in the next section.
<Label Text="{Binding Description}"
          d:Text="Item descripton"
          LineBreakMode="NoWrap"
          Style="{DynamicResource ListItemDetailTextStyle}"
          FontSize="13" />

<Label
          FontFamily="CCode39_S3"
          Text="*12345678*"
          FontSize="24"/>
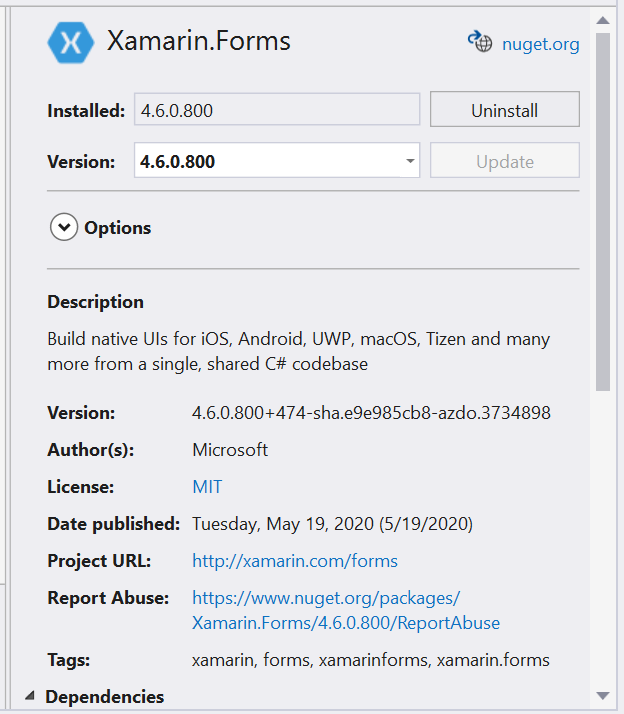
6. Right click on "App->Dependencies" and select "Manage NuGet Packages". In the "Installed" package section, make sure you are using version "4.6.0.800" (or later) of the "Xamarin.Forms" package. Repeat this step for "App.Android -> References" and any other platform projects (iOS/UWP) that you need to deploy to.
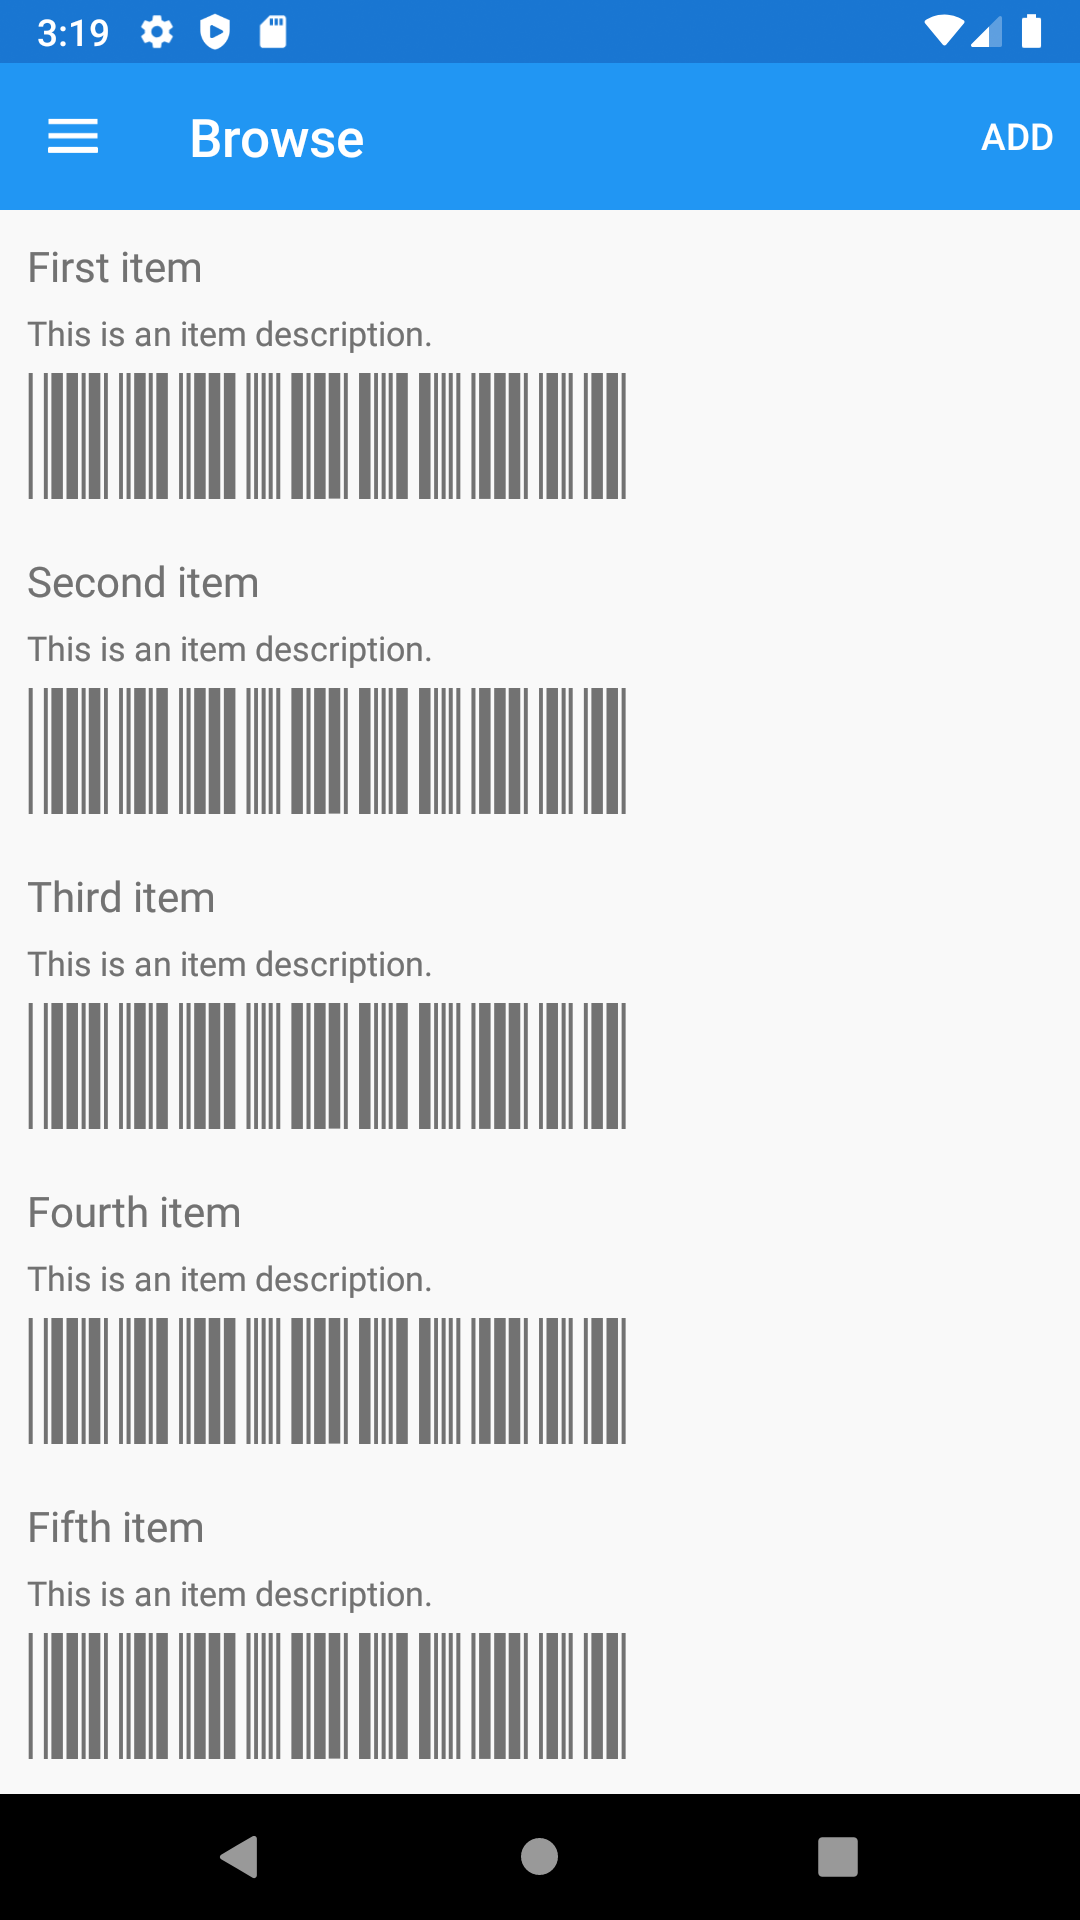
7. Select in the menu "Build->Build Solution" and then run the project. In our case, we will select the Android Emulator to preview our solution with the Code 39 barcode. After running the application, you should see the following:
How to create a Code 128 or other commonly used barcode?
In the previous section, you have created a Code 39 barcode by simply using a barcode font. For many barcodes, it is common in the auto-id industry to add a check digit to ensure its robustness. On top of that, many barcodes require control characters such as start/stop characters and/or special control separators to comply with the specifications of ISO/GS1.ConnectCode Barcode Fonts package comes with a .NET Standard NuGet barcode library (DLL) that helps you comply with the ISO/GS1 specifications easily. Instead of specifying your input data and then applying the barcode, you just need to add a step of encoding the input data using the NuGet library. The barcode library will parse through the input, eliminate non-supported characters, and automatically add all the necessary control characters. You just need to apply the font to the output of the library and you can be assured of getting barcode that complies with the specifications and requirements of the auto-id industry.
In this section, we are going to illustrate how to use the barcode encoding library.
1. You can choose to reuse the project in the previous section or create a new project for this purpose.
2. In the "Solution Explorer", right click on the "App" project and create a "Resources\Fonts" folder. Right click on the "Fonts" folder, select "Add existing item", and browse to the ConnectCode (C:\Program Files(x86)\ConnectCode\OpenType) folder. Select the "ConnectCode128_S3.otf" Open Type barcode font.
3. In "Solution Explorer", double click on "AssemblyInfo.cs". Add the following statement to export and add an alias to the Code 128 Open Type font.
using Xamarin.Forms;
[assembly: ExportFont("ConnectCode128_S3.otf", Alias = "CCode128_S3")]
4. In "Solution Explorer -> Views", double click on "ItemsPage.xaml". After the "Label" element for "Binding Description", add a "Label" for the Code 128 barcode.
<Label
    FontFamily="CCode128_S3"
    Text="{Binding Barcode}"
    FontSize="24" />
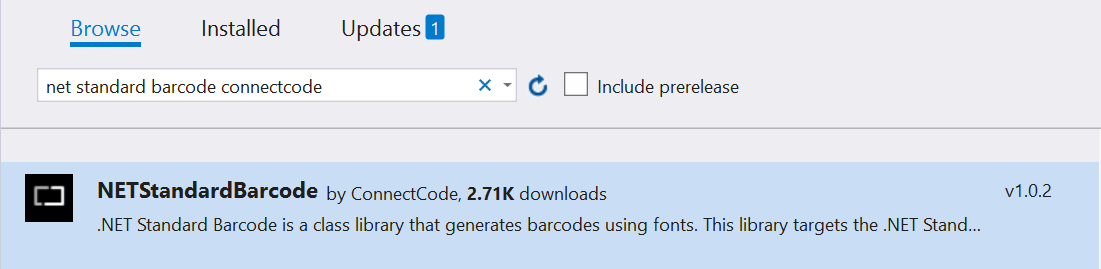
5. In "Solution Explorer -> App", right click on "Dependencies" and select "Manage NuGet Packages". In the "NuGet Package Manager", click on "Browse" and search for "net standard barcode connectcode". Select the "NETStandardBarcode" and click on "Install".
6. In "Solution Explorer", double click on "MockDataStore.cs" in the "Services" folder. Update the "MockDataStore" constructor to the following:
using Net.ConnectCode.Barcode;
.
.
.
public MockDataStore()
{
BarcodeFonts barcode = new BarcodeFonts();
barcode.BarcodeType = BarcodeFonts.BarcodeEnum.Code128Auto;
barcode.Data = "12345678";
barcode.CheckDigit = BarcodeFonts.YesNoEnum.Yes;
barcode.encode();
String barcodeOutput = barcode.EncodedData;
items = new List- ()
{
new Item { Id = Guid.NewGuid().ToString(), Text = "First item", Description="This is an item description.", Barcode=barcodeOutput },
new Item { Id = Guid.NewGuid().ToString(), Text = "Second item", Description="This is an item description.", Barcode=barcodeOutput },
new Item { Id = Guid.NewGuid().ToString(), Text = "Third item", Description="This is an item description.", Barcode=barcodeOutput },
new Item { Id = Guid.NewGuid().ToString(), Text = "Fourth item", Description="This is an item description.", Barcode=barcodeOutput },
new Item { Id = Guid.NewGuid().ToString(), Text = "Fifth item", Description="This is an item description.", Barcode=barcodeOutput },
new Item { Id = Guid.NewGuid().ToString(), Text = "Sixth item", Description="This is an item description.", Barcode=barcodeOutput }
};
}
This function instantiates a "BarcodeFonts" class object from the "NETStandardBarcode" NuGet library and uses it to "encode" the input data "12345678". The output is then set to the "Barcode" property. Notice that this property is binded to the "Label" element in Step 4 where we apply the "CCode128_S3" barcode font.
7. Right click on "App->Dependencies" and select "Manage NuGet Packages". In the "Installed" package section, make sure you are using version "4.6.0.800" (or later) of the "Xamarin.Forms" package. Repeat this step for "App.Android -> References" and/or any other platform projects (iOS/UWP) that you need to deploy to.
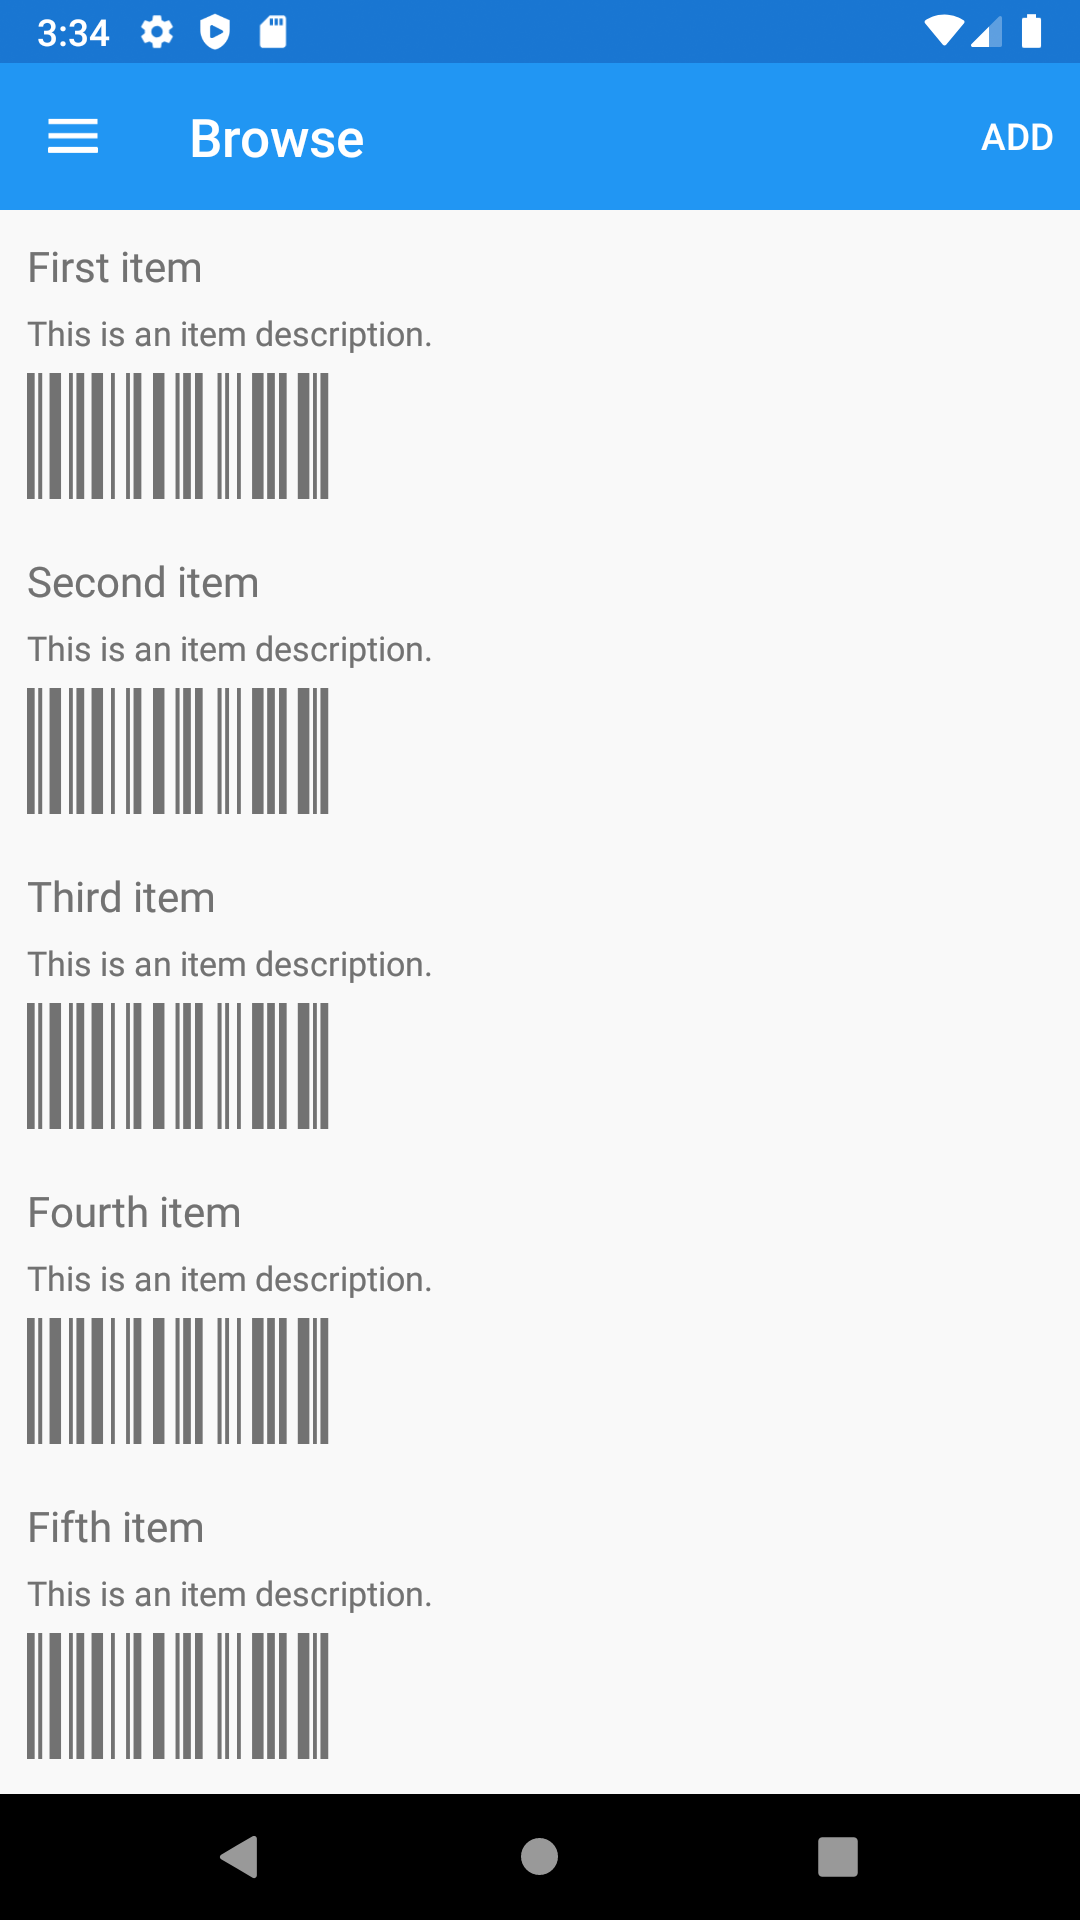
8. Run the project in the Android Emulator and you should see the following application with the Code 128 barcode.
Application Programming Interface
If you need to create other barcodes such as Code 128, GS1 128, UPCA, EAN13, I2of5, ITF14 etc., please refer to the full .NET Barcode API below:.NET Barcode API