Creates barcodes in Adobe Illustrator using Barcode Fonts
This tutorial illustrates how to use barcode fonts and the Font Encoder in ConnectCode Barcode Software and Fonts package to create high quality barcodes in Adobe Illustrator.
Prerequisites- ConnectCode Barcode Software and Fonts
- Adobe Illustrator
1. Launch Adobe Illustrator from the Windows Start Menu.
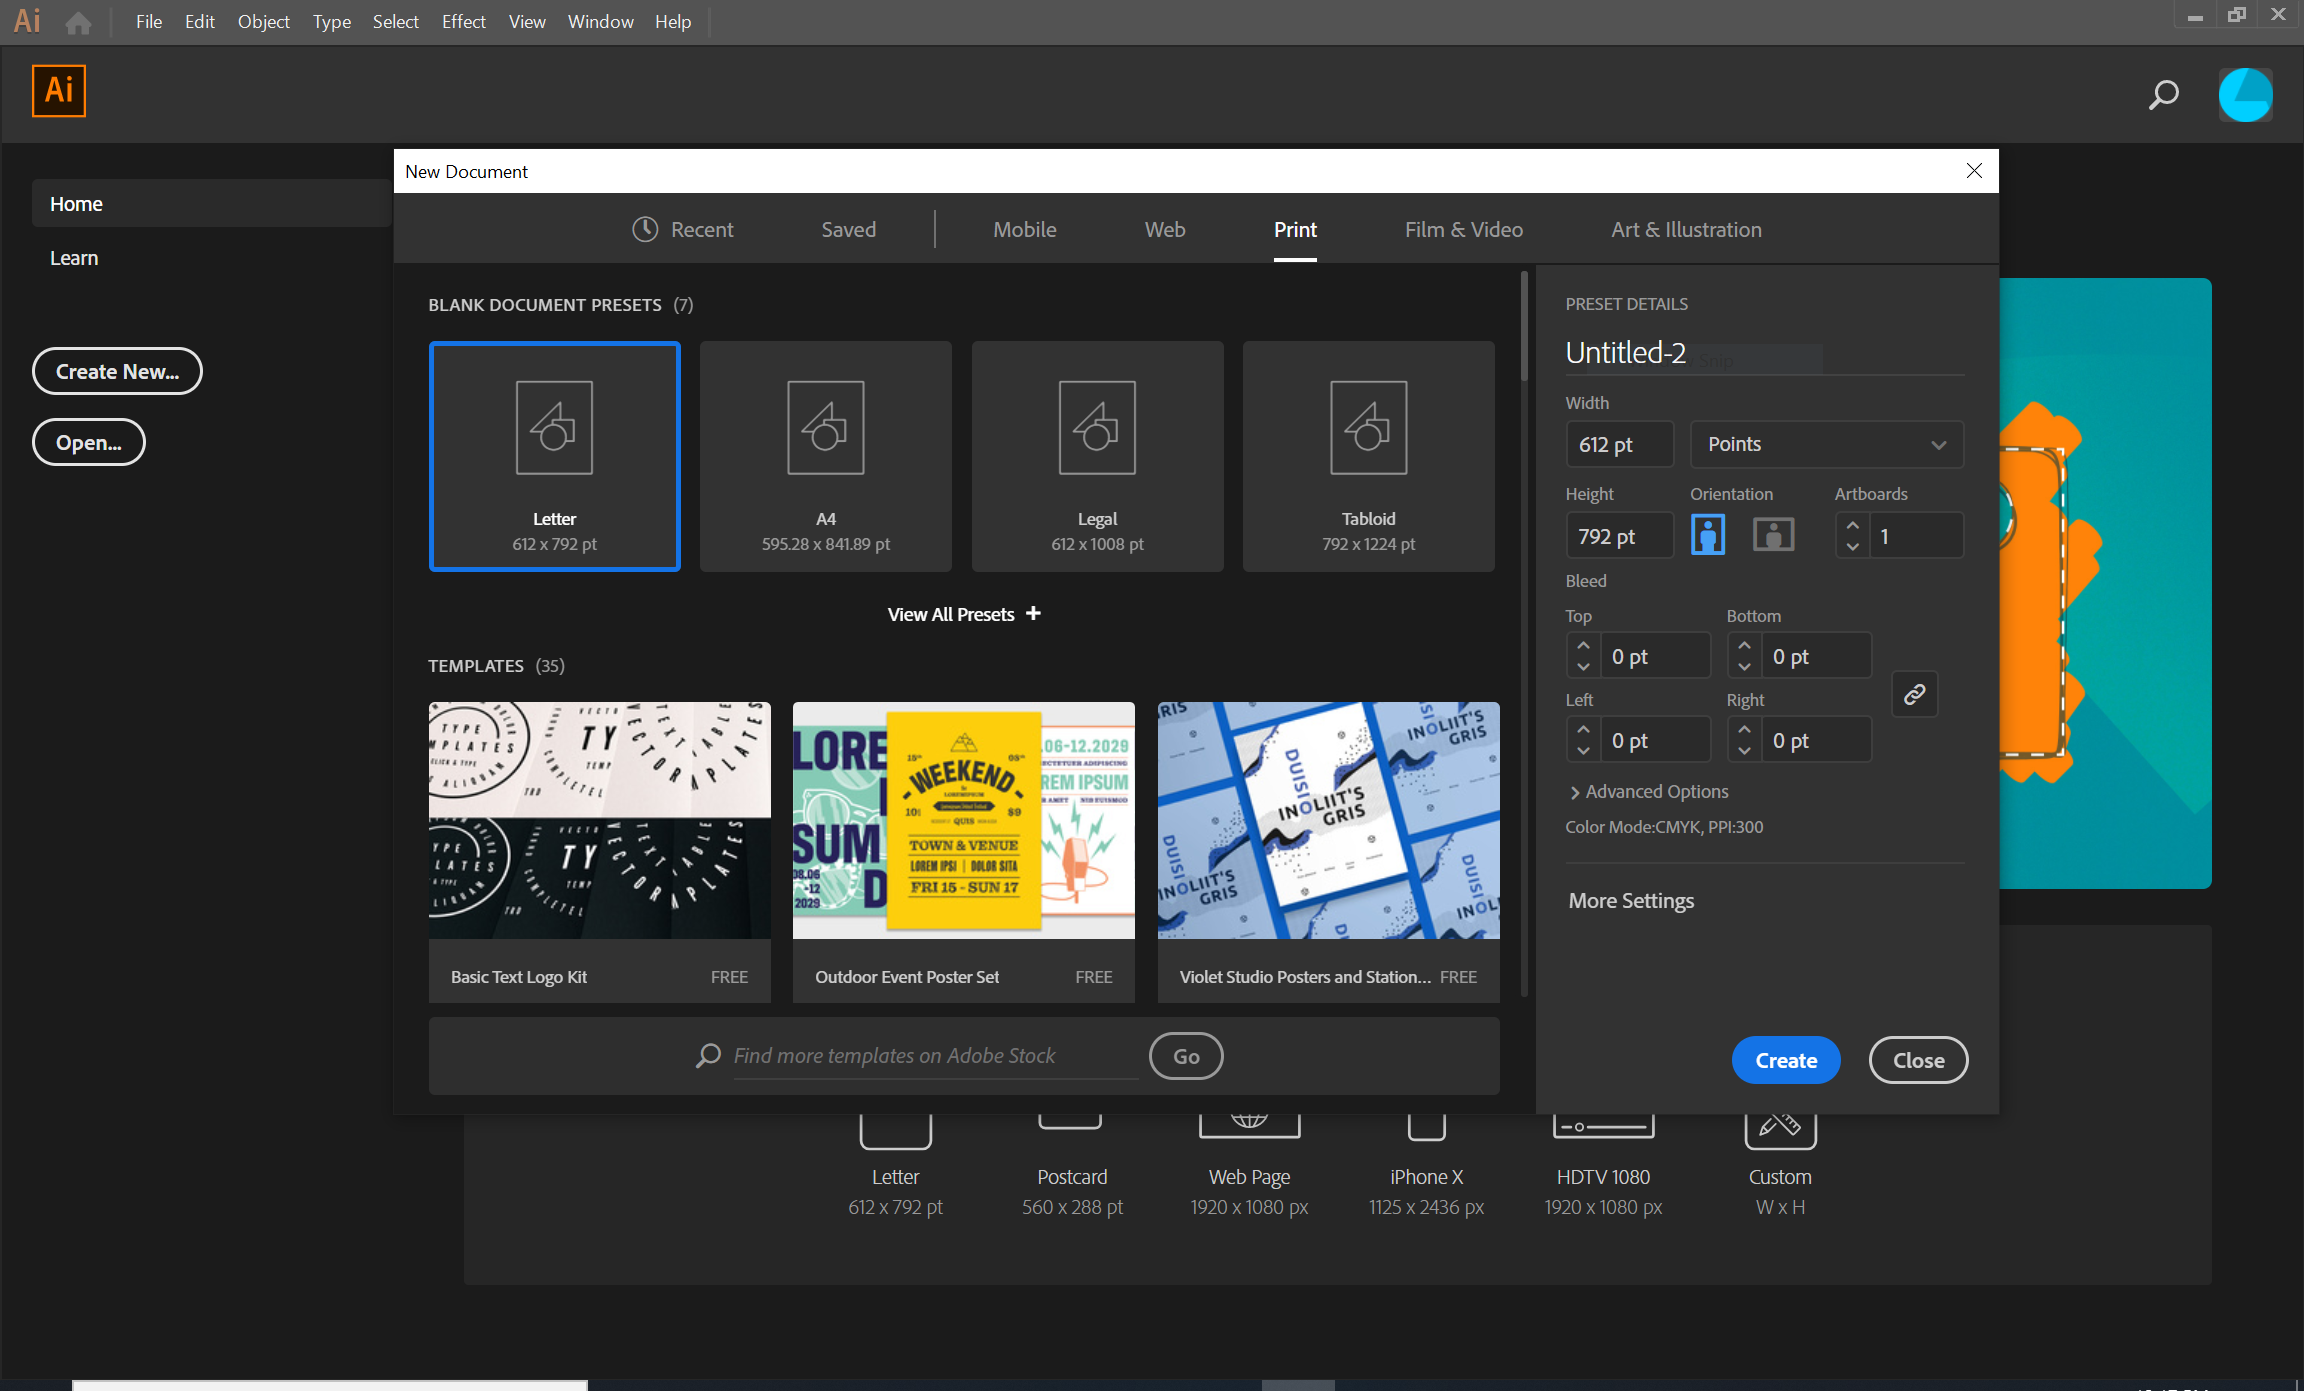
2. Click on the "Create New..." button or from the menu select "File -> New" to create a new document.
3. In the "New Document" dialog, select the "Letter" document in the "Print" tab, and click on the "Create" button in the dialog.
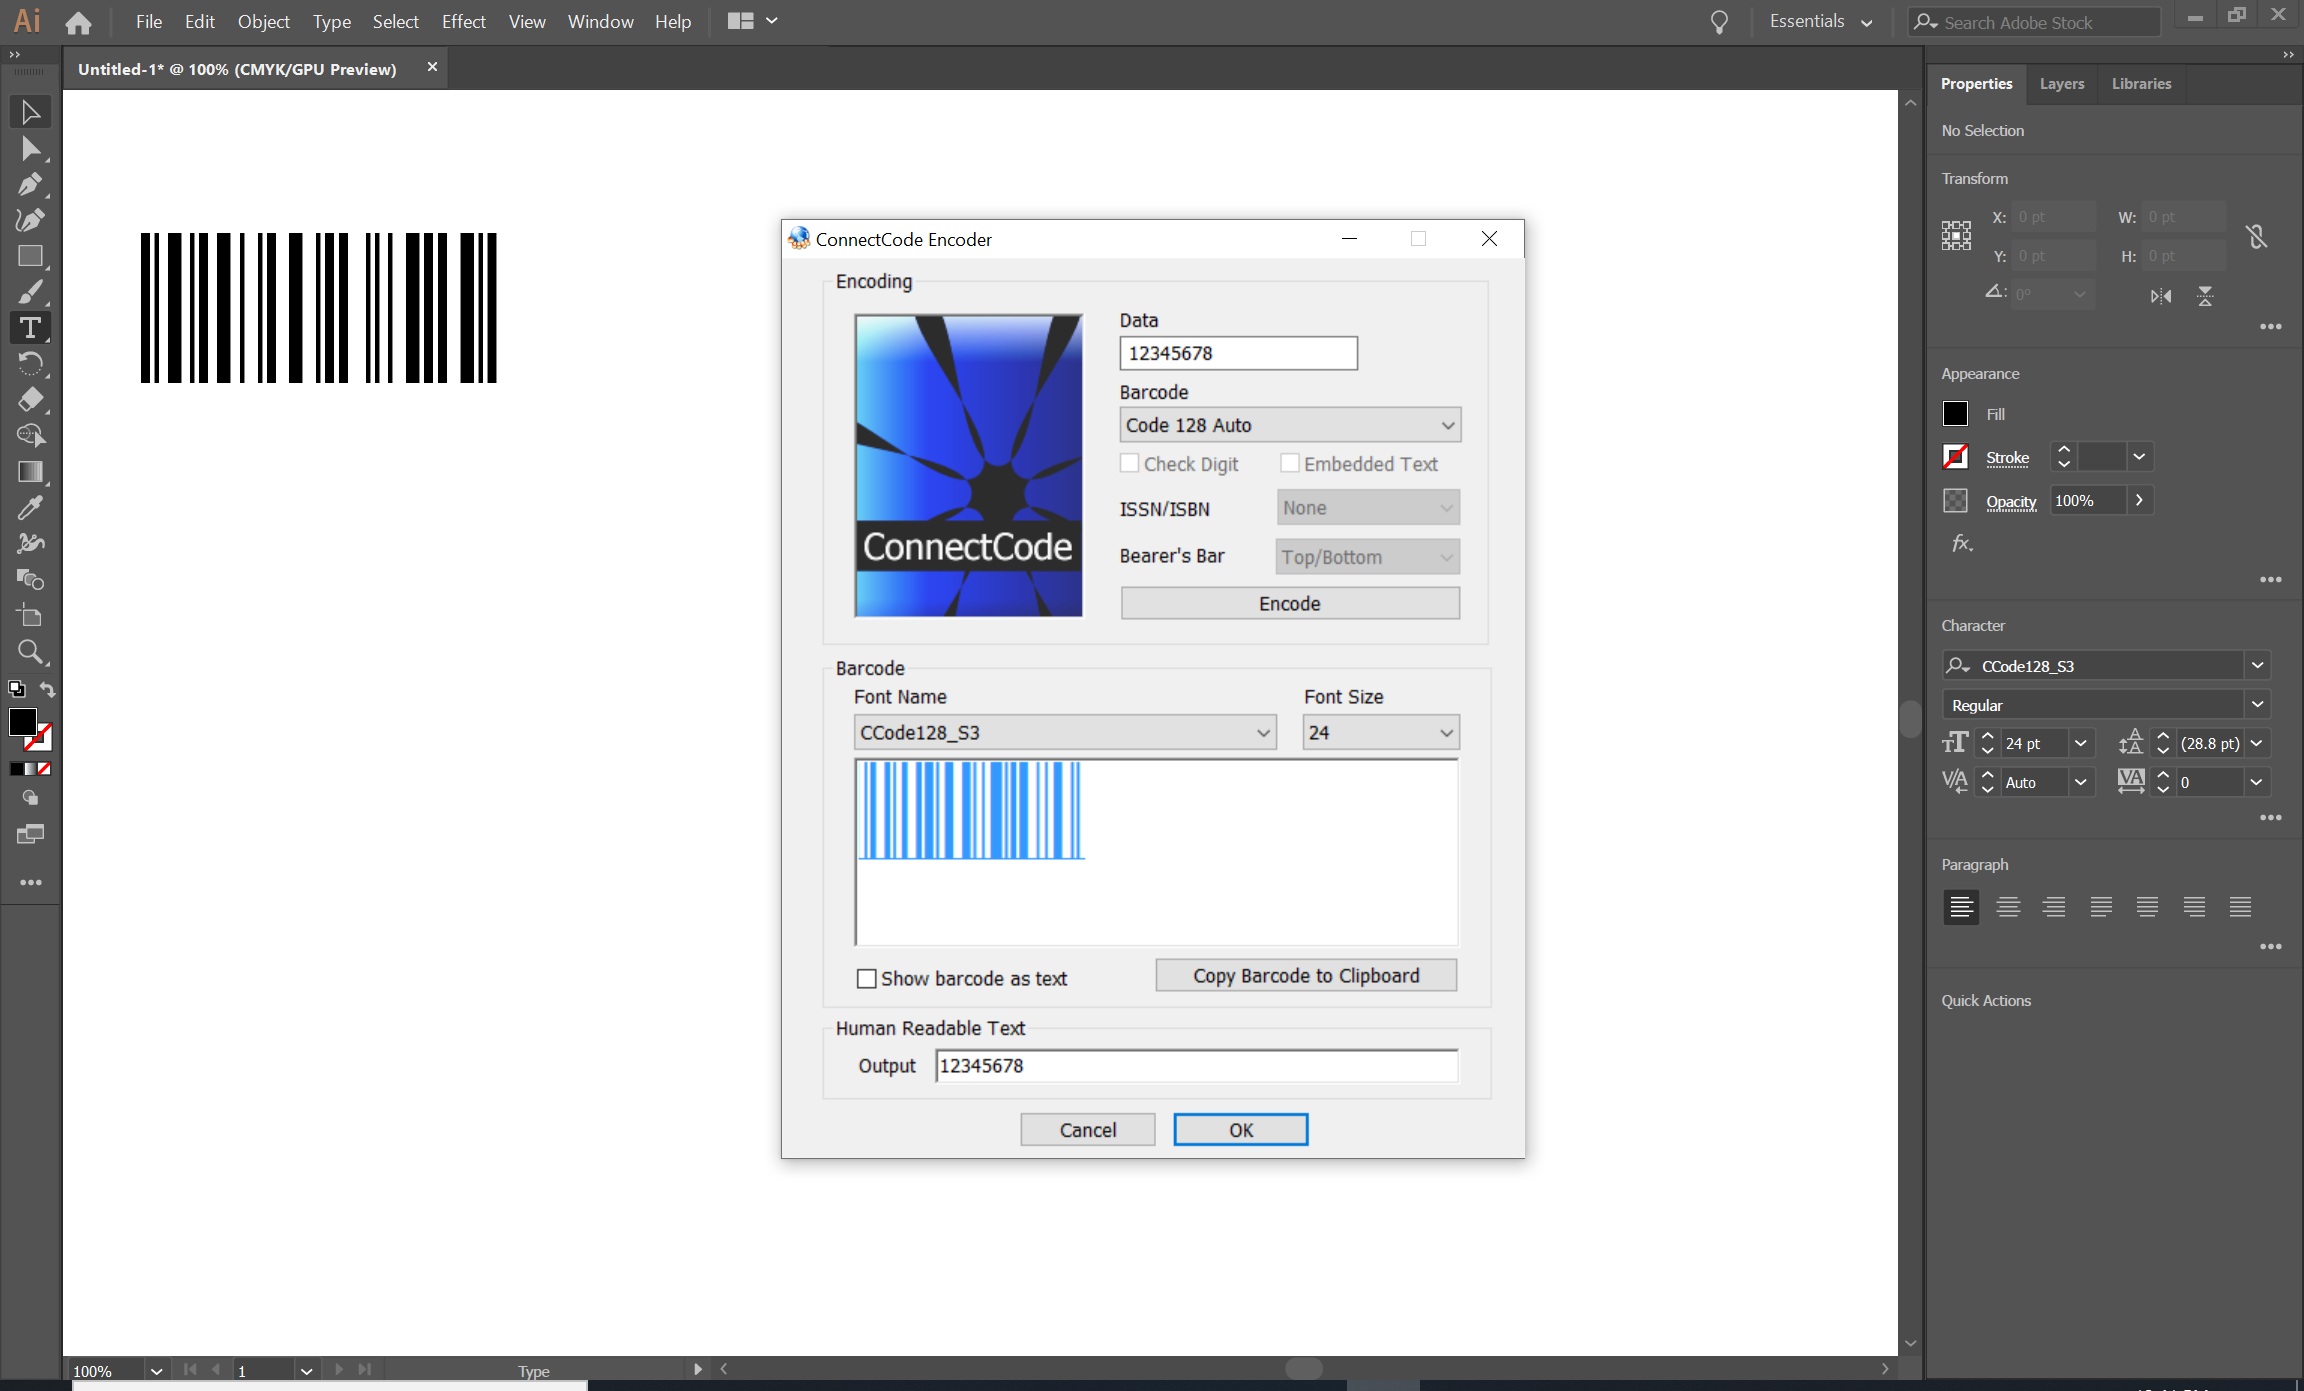
4. Launch the "ConnectCode -> Font Encoder" from the Windows Start Menu. A barcode, created using fonts, needs the necessary Start/Stop and Check characters to adhere to the industry specifications. The "Font Encoder" helps you with the creation of these characters automatically. The "Font Encoder" also validates your input data to ensure that it complies with the industry specifications.
Note - If you are using the msix installer with the Windows 11 Barcode Fonts Encoder, launch "Barcode Fonts Encoder" from the Windows Start Menu.
5. We are going to create an EAN13 (European Article Numbering) barcode. Enter "12345678" as the input data, select "EAN13" as the Barcode, enable the "Embedded Text" option, and click on the "Encode" button. The "Embedded Text" option generates an Extended Style EAN13 barcode that you commonly see in product packaging.
6. Click on the "Copy Barcode to Clipboard" button. This will copy the barcode (or more specifically the characters of the barcode with the necessary check and Start/Stop characters) to the Windows Clipboard. Please note that "CCodeUPCEAN_HRBS3" font is used to generate the EAN13 barcode in this tutorial.
7. In Adobe Illustrator, click on the "Type Tool (T)" icon on the tool-bar and then click on the "Letter" canvas. You should see an object with the text "Lorem ipsum" created.
8. Click on "Edit -> Paste" to paste the barcode. Adobe Illustrator should look similar to below. If you are unable to paste the barcode text into Illustrator, you can go back to the "Font Encoder", and click on "Copy Barcode to Clipboard" to copy the barcode to the Windows CLipboard.

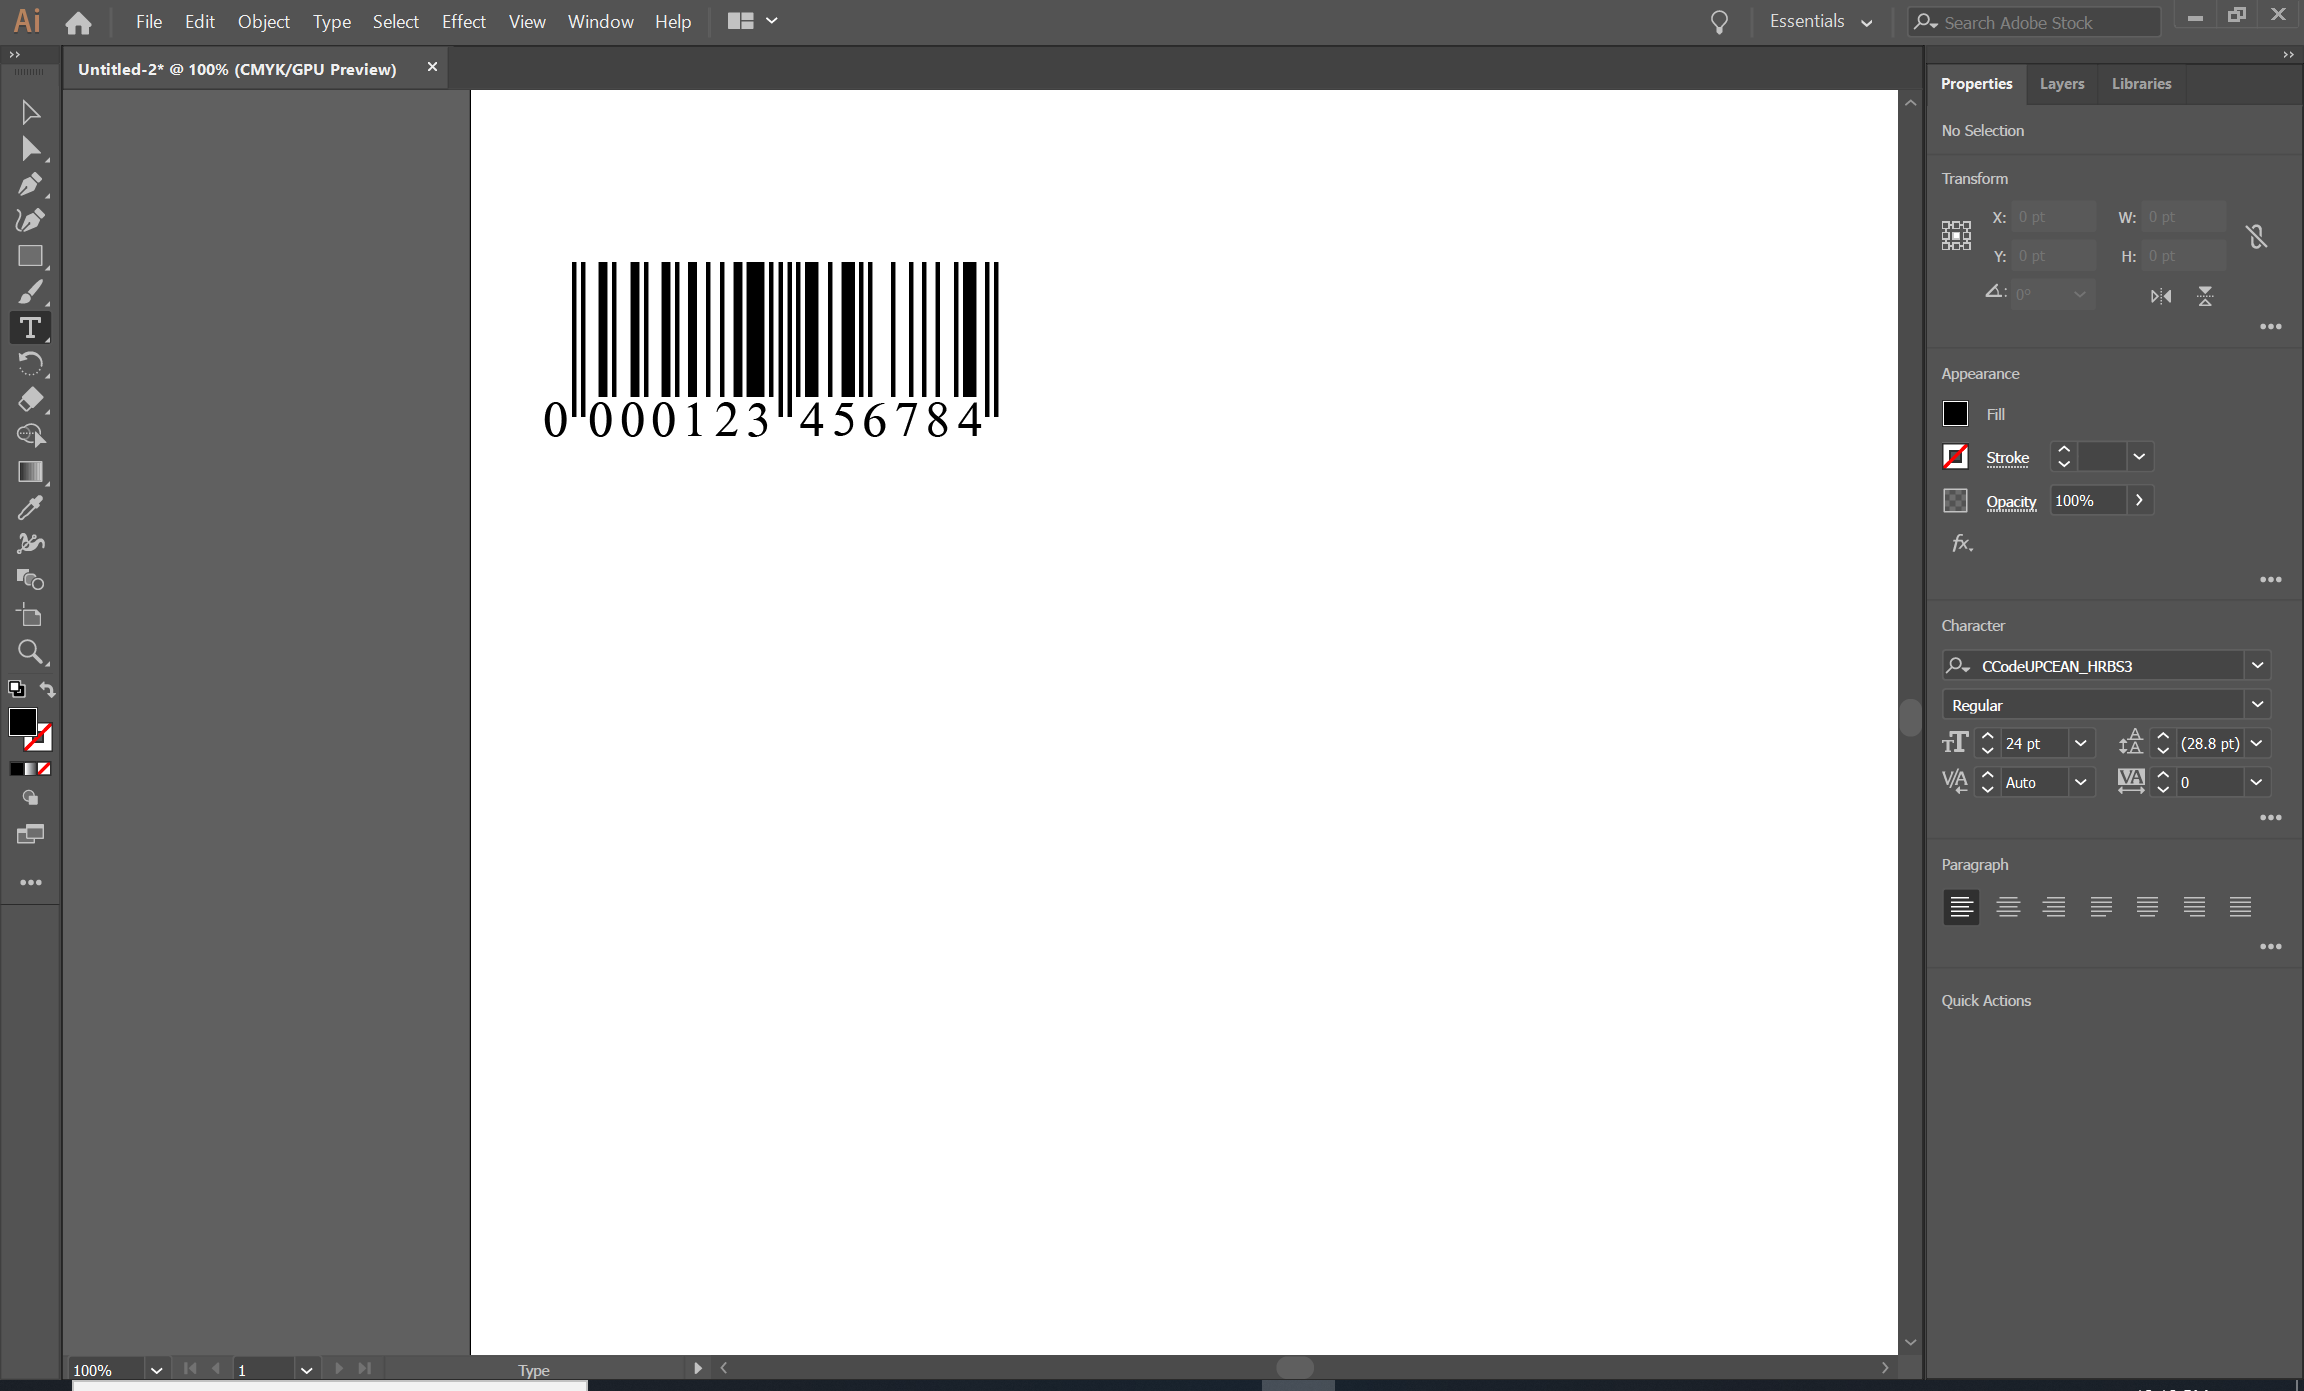
9. In the "Properties" panel of Illustrator, change the font "Character" to "CCodeUPCEAN_HRBS3". This is the font we highlighted in step 6. The "...S3" of the font name refers to a font (of a specific height): "...S1" (smallest) to "...S7" (largest). The entire series of fonts enable you to meet the size requirements of all third-party verification tests and audits.
10. In Illustrator, change the font size "T" to "24 pt". This is the font size we recommend when you first create a barcode. You can always increase or decrease the font size later. You have successfully created an Extended Style EAN13 barcode as shown below. You can adjust the size of the barcode by changing the font size or by using a font with a different height as described in step 9.
11. You can also use the "Font Encoder" to generate a Code 128 (shown below) or other barcodes supported by the ConnectCode Barcode Fonts and Software package.